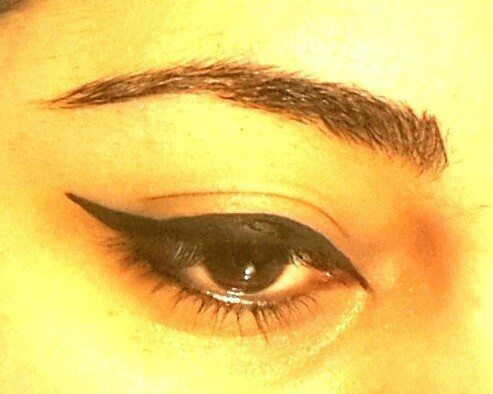
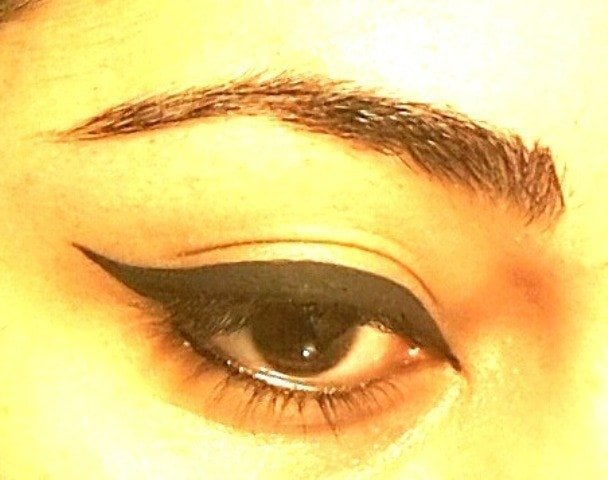
I have given a couple of eye makeup tutorials earlier. But I got a feedback…to cater to basics 🙂 The Winged Eye Liner is such a versatile look. But many find it nearly impossible to tackle.Today I will show you girls how to create a winged eye liner…..though it looks easy but trust me its tough get the right winged eyeliner. So I have simplified and cut down the process in simple steps….but remember practice is very important. 🙂 Here it is my Darlings How to Do Winged Eyeliner :
Here is the Step By Step Process to Make a Great Winged Eye Liner Look!
Step 1
Draw a straight line from the end of your eye towards the end of your eye brow and draw till the point you want the liner to be elongated.
Step 2
From the inner corner of the eye start drawing an outline of the upper eye lid
Step 3
Again from the outer corner draw a line from the end point of the previous line drawn towards the centre of the lid. Keep in mind the thickness of the eyeliner you want.
Step 4
Now join both the ends. Again here you need to keep in mind how much curve you want to give to your eyeliner in the middle.
Step 5
Now fill in the space
Step 6
Make final touchups and changes in the shape
And you are done!


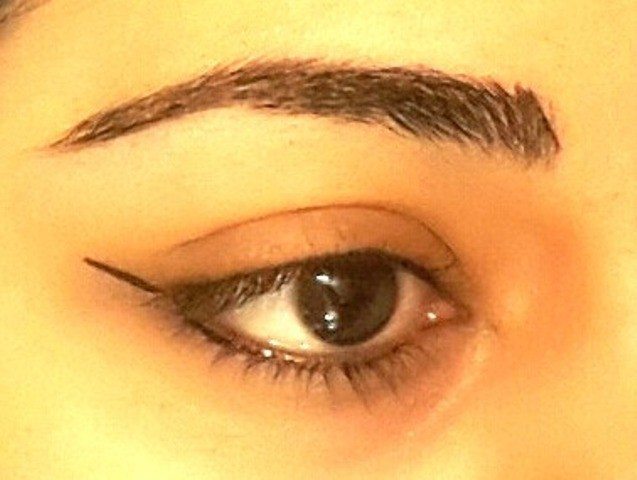
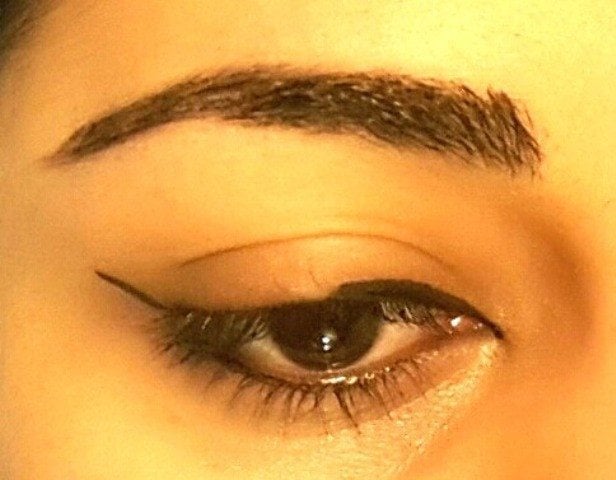
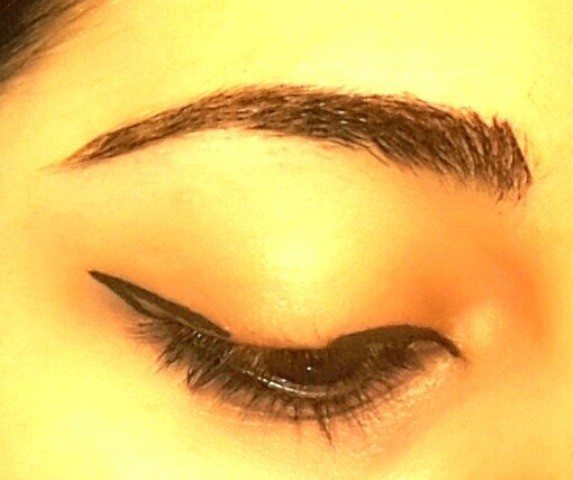
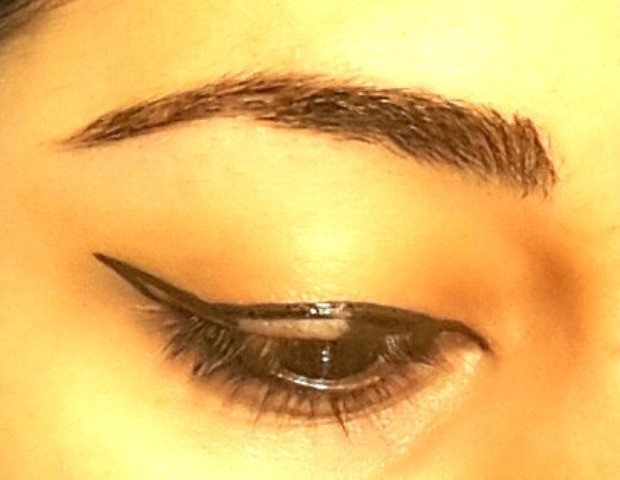
5 comments
Thanks for such an easy guide to doing winged eyes!
This really helps! :love
This detailed how-to is just awesome.. :good: :good:
this is very helpful :rose: :love , but it goes crazy for me to do the other eye to match this eye… 😥
I
Very detailed one… :haanji :love :love