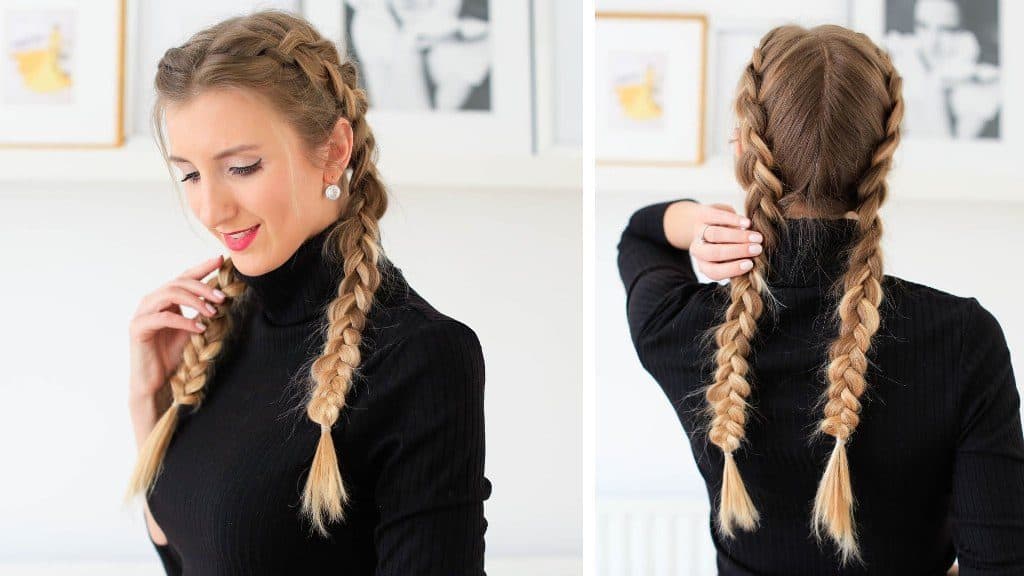
A Dutch Braid is also known as a reverse braid or inside out braid. Dutch braid looks very difficult to make but trust me it is very simple to make. If you have tried French braid, if not, my last article was about it and its step by step tutorial.Dutch braid has same technique like French braid but it is to be done upside down. It requires a little bit of practice in starting but it is worth practicing because the result looks so beautiful.

Image Credit : Luxy Hair
Here is what you all need:
- A comb
- Hair tie
- Some bobby pins
- A Hairspray (optional)

Image Credit : Hairs Affairs
Step 1:
Gently comb your hair to make it smooth and tangle free.
Table of Contents
Step 2:
Now make a side partition, it can either be your left or right wherever you are comfortable.
Take a small section from the crown of the side partition.
Step 3:
Divide the section into three equal parts and start braiding upside down. By upside down braiding, we mean that here you have to cross the side strands from under the middle section.
Step 4:
Once you have braided for 2-3 times, start adding sections from the only side of your hair.
Keep repeating this step and remember not to go harsh and tight while braiding, this will not make a good braid. Be gentle with your hair.
Step 5:
Continue braiding till you reach the end, tie it with a hair tie and take the braid on the other side and secure it with bobby pins.
And Your dutch braid is ready. You can set your hair using hairspray if needed.
Style it with an accessory of your liking. Also, you can look at this video tutorial!
More on Hair Styling?
- How to French Braid – Step by Step !
- 5 Easy Hairstyles for College !
- Hairstyles that Make You Look Older !

3 comments
wow..love this tutorial..easy to follow..
This was a much needed tutorial for me..
Thanks Juhi :love
Now I can pull this one off smoothly!
Thanks for such an informative post! :haanji